Managing Openscad Projects
Why Structure Your OpenSCAD Projects?
OpenSCAD is powerful, but as projects grow, managing complexity becomes critical. Plus you’re already ditching the GUI for a descriptive language, are you going to be chained to the GUI for exporting files?
Properly organizing your files and code enables:
- Design abstractions with no concrete data. ex. evenly spaced grid of holes in a square plane, holes in a test jig pressure plate, etc.
- Simple reuse and updating of a design
- Reduced duplication
- Scalable part creation and layout logic
Common Challenges and Solutions
| Challenge | Solution |
|---|---|
| Reusing code and libraries | Use OPENSCADPATH to add custom library directories to search path |
| Need access to high-level modules from lower-level files | Instead use dictionary lists for data that must be shared with abstractions |
| Sharing variables across files | Define accessor functions (e.g., get_param()) to expose variable. Avoid if possible. |
| Sharing parameterized code | Encapsulate reusable abstractions in a dedicated library file and specialize only in top-level designs |
| Generating manufacturing files | Create a new file for each output type. Put into a separate directory. Each of these files should call out only a single use statement and a single module call. |
Project Structure
The project structure I use for OpenSCAD is the same as I use for FreeCAD or shudder with closed source CAD. For a complicated project there’s an Assembly which has all the parts fitting together. Much of the design is done with the Assembly itself. If the project has been decoupled elegantly this may not be as necessary. So you have an assembly of parts composed of abstractions with specialized data passed into the component modules.
Project/
├── Assembly.scad
├── Makefile
├── Objects/
│   ├── assembly.scad
│   ├── table_top.scad
│   └── table_leg.scad
└── libs/
    └── openscad-utilities/
# Assembly.scad
use <openscad-utilities/tools.scad>

inch = 1;
foot = 12;

function get_table() = [
    ["width", 10*foot],
    ["depth", 2*foot],
    ["top_thickness", 2*inch],
    ["leg_diameter", 4*inch],
    ["leg_length", 3*foot],
];

module table_top(table) {
    linear_extrude(dict_lookup("top_thickness", table))
    square([dict_lookup("width", table), dict_lookup("depth", table)], center=true);
}

module table_leg(table) {
    linear_extrude(dict_lookup("leg_length", table))
    circle(d=dict_lookup("leg_diameter", table));
}


module Assembly(table) {
    table_size = [dict_lookup("width", table), dict_lookup("depth", table)];
    table_top(table);
    for(position = [[-1,-1], [-1,1], [1,-1], [1,1]]) {
        translate([position.x*table_size.x/2, position.y*table_size.y/2])
        table_leg(table);
    };
}

module make_assembly() {
    Assembly(get_table());
}

module make_table_top() {
    table_top(get_table());
}

module make_table_leg() {
    table_leg(get_table());
}
Here we have a table composed of a table top and 4x legs.
Make a directory called Objects under the main directory for the exported objects.
We then call the make_assembly(), make_table_top(), and make_table_leg() from a corresponding object file.
// table_top.scad
use<../Assembly.scad>;
$fn = 100;
make_table_top();
// table_leg.scad
use<../Assembly.scad>;
$fn = 100;
make_table_leg();
// assembly.scad
use<../Assembly.scad>;
$fn = 100;
make_assembly();
Makefile
So we have our objects defined and one file for each object. Now lets define a makefile to generate the outputs. The combined 3D output section is done that way to avoid multiple renders of the same object. The discrete commands are commented out below as examples.
OBJECTS = \
    table_leg \
    table_top \
    assembly

SOURCE_DIR=$(abspath ./)
OUTPUT_DIR=$(CURDIR)

_SOURCE_DIR=$(abspath ${SOURCE_DIR})
_OUTPUT_DIR=$(abspath ${OUTPUT_DIR})
SOURCE=$(_SOURCE_DIR)/Assembly.scad
OBJECTS_DIR=$(_SOURCE_DIR)/Objects

make_file_name = $(addsuffix $(3),$(addprefix $(1),$(2)))

SOURCE := $(SOURCE) $(call make_file_name,${OBJECTS_DIR}/,$(OBJECTS),.scad)


output_objects := $(call make_file_name,${_OUTPUT_DIR}/,$(OBJECTS),.stl)
output_objects += $(call make_file_name,${_OUTPUT_DIR}/,$(OBJECTS),.amf)
output_objects += $(call make_file_name,${_OUTPUT_DIR}/,$(OBJECTS),.3mf)
output_objects += $(call make_file_name,${_OUTPUT_DIR}/,$(OBJECTS),.png)
# output_objects += $(call make_file_name,${_OUTPUT_DIR}/,$(OBJECTS),.svg)
# output_objects += $(call make_file_name,${_OUTPUT_DIR}/,$(OBJECTS),.eps)

export OPENSCADPATH=$(shell echo $$OPENSCADPATH):$(CURDIR):$(_SOURCE_DIR)

.PHONY: all clean print directories PNG
all: directories $(output_objects)

clean:
    -rm $(output_objects)

print:
    echo $(output_objects)

directories: ${_OUTPUT_DIR}

PNG: $(top_level_modules_3d:.scad=.png)

${_OUTPUT_DIR}:
    ${MKDIR_P} $@

${_OUTPUT_DIR}/%.amf ${_OUTPUT_DIR}/%.3mf ${_OUTPUT_DIR}/%.stl ${_OUTPUT_DIR}/%.png: ${OBJECTS_DIR}/%.scad ${generated_source}
    openscad -m make -o $(basename $@).3mf -o $(basename $@).amf -o $(basename $@).stl -d [email protected] $< -o $(basename $@).png --imgsize 1024,1024 --render

${_OUTPUT_DIR}/%.svg: ${OBJECTS_DIR}/%.scad | ${SOURCE}
    openscad -m make -o $@ -d [email protected] $<

${_OUTPUT_DIR}/%.eps: ${OBJECTS_DIR}/%.svg | ${OBJECTS_DIR}/%.scad ${SOURCE}
    inkscape $< -o $@

${_OUTPUT_DIR}/%.dxf: ${OBJECTS_DIR}/%.scad | ${SOURCE}
    openscad -m make -o $@ -d [email protected] $<

# Optional section for separating discrete files. Requires multiple renders.
#${_OUTPUT_DIR}/%.png: ${OBJECTS_DIR}/%.scad | ${SOURCE}
#   openscad -m make -o $@ -d [email protected] $< --imgsize 1024,1024 --render #--preview #--viewall --autocenter#--projection=p --colorscheme Sunset# --view axes --view scales --camera translate_x

#${_OUTPUT_DIR}/%.3mf: ${OBJECTS_DIR}/%.scad | ${SOURCE}
#   openscad -m make -o $@ -d [email protected] $<

# ${_OUTPUT_DIR}/%.amf: ${OBJECTS_DIR}/%.scad | ${SOURCE}
#   openscad -m make -o $@ -d [email protected] $<
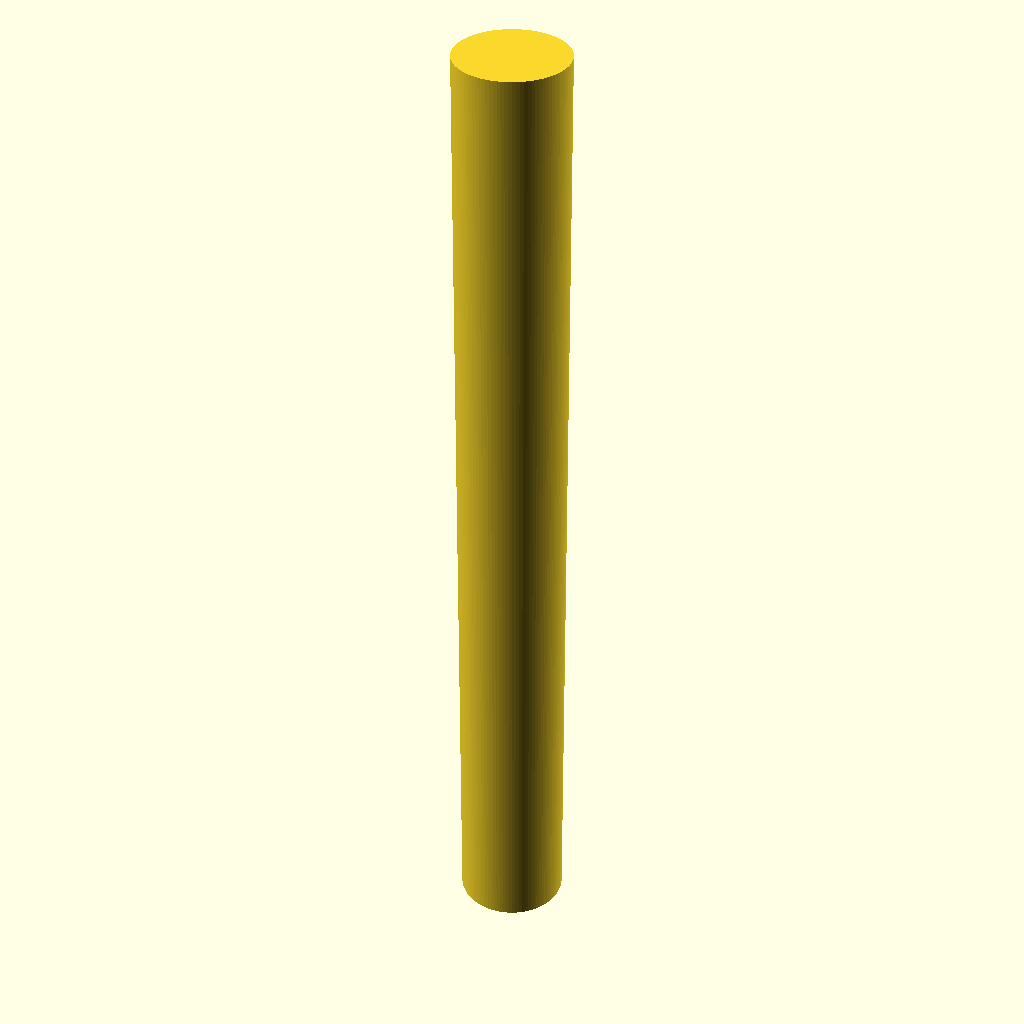
Exported table leg png

Exported table top png
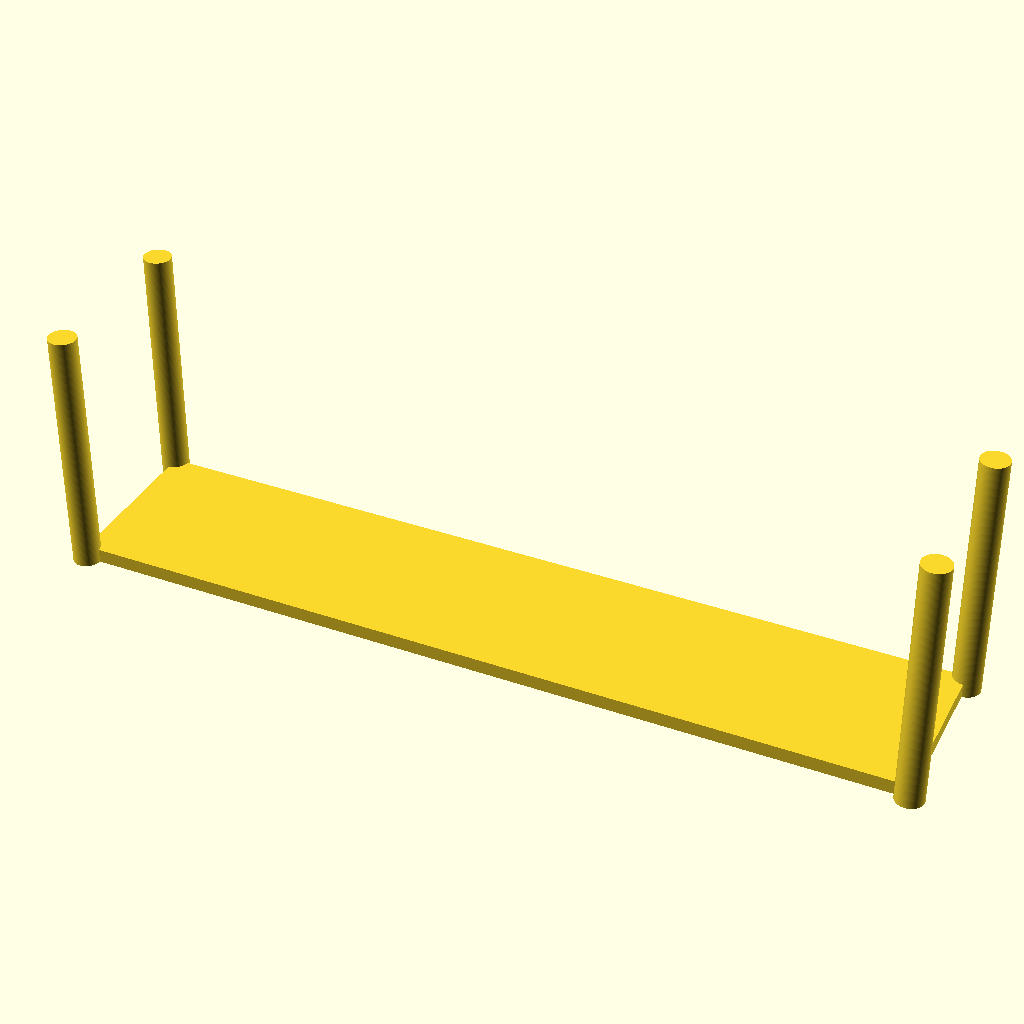
Exported table assembly png
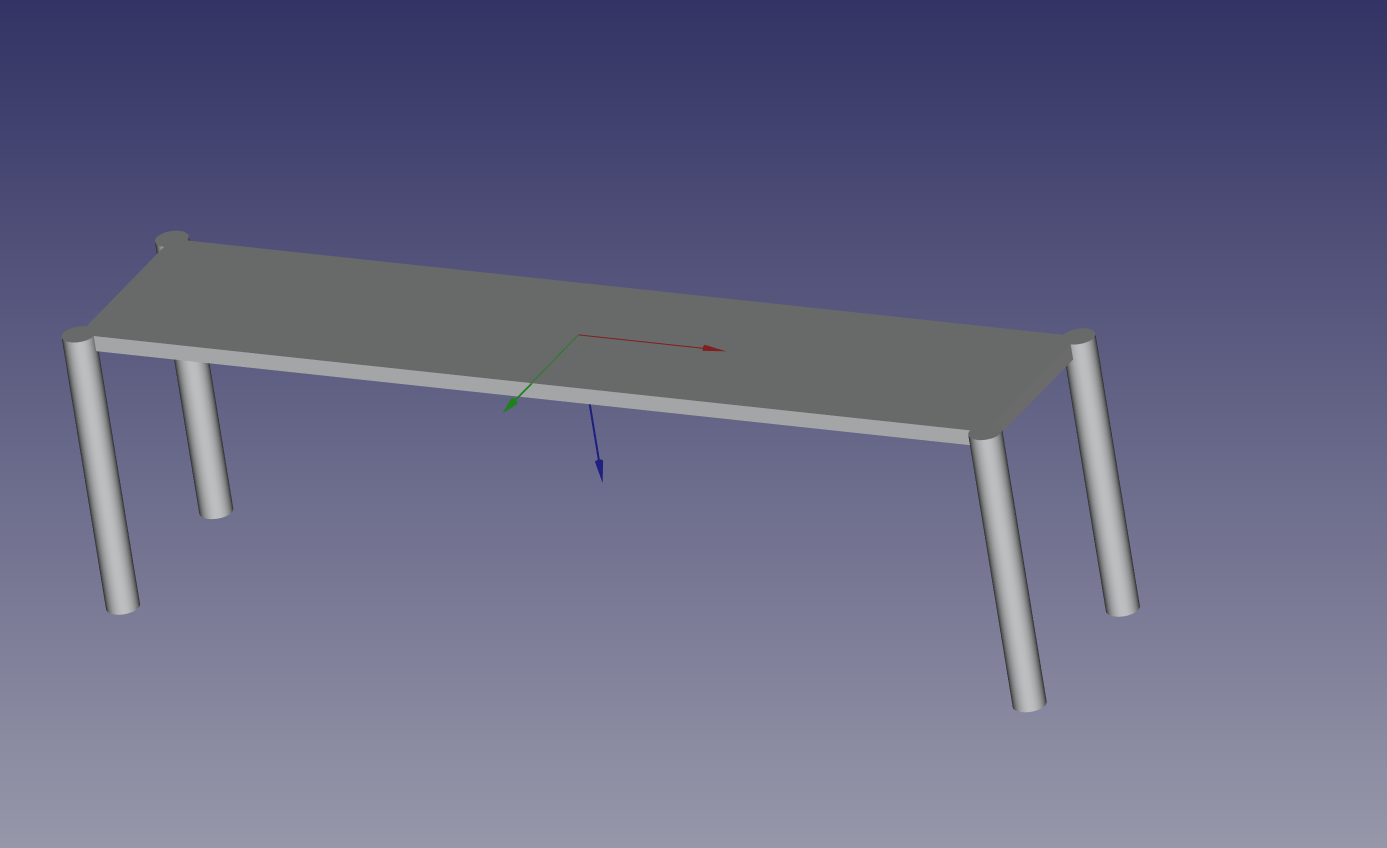
Table STL as imported into FreeCAD
Using Libraries
Best Practices for Libraries
OpenSCAD Library Guide (Wikibooks)
- Use
use()when you want to import modules/functions without executing code - Use
include()if you need to share constants or variables (but avoid overusing it) - Keep reusable logic in its own file or folder
- Clearly document dependencies in your library modules
Build Environment Tips
To manage libraries and dependencies cleanly:
- Set the
OPENSCADPATHenvironment variable to point to your library folder - Use Git submodules to version libraries across projects
- Avoid using system-wide installs for project-specific logic
This approach ensures your project remains self-contained and easy to share or reproduce.
export OPENSCADPATH=/path/to/myproject/libs:$OPENSCADPATH
Summary
With a structured layout, reusable abstractions, and a Makefile build system, OpenSCAD becomes a practical tool even for moderately complex mechanical assemblies. Whether you’re exporting for printing, simulation, or integration into larger systems, a disciplined approach pays off.